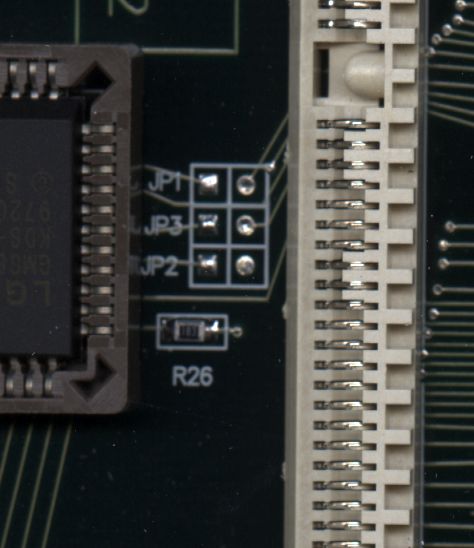
 To use the secord serial port as a general
purpose port, you need to do two things.
To use the secord serial port as a general
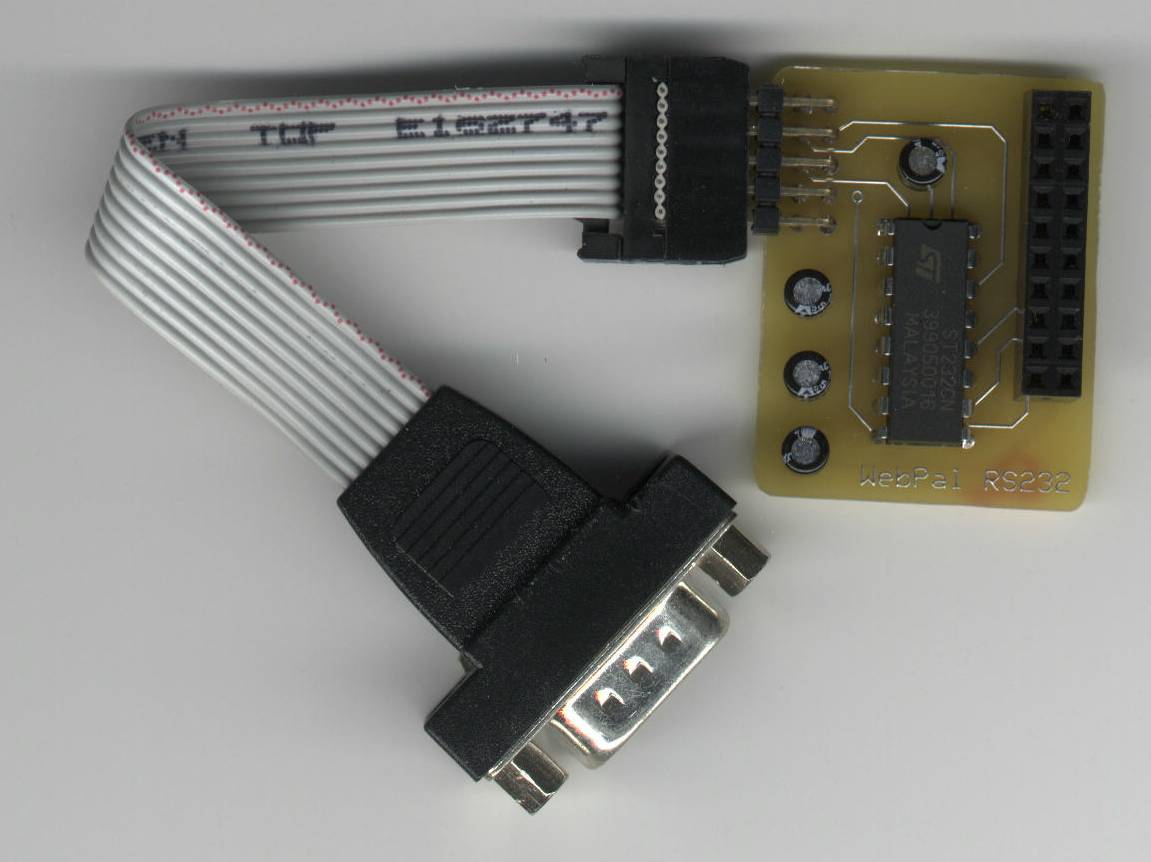
purpose port, you need to do two things.I built a small PC board with a MAX232C chip on it to handle the conversion. It plugs into a 20 pin header that you can install on the Webpal PC board. The output is a 10 pin header that can connect to a 10 Pin header to 9 PIN RS-232C adapter cable. Here is a picture of the board. Here is a schematic.
I used the ExpressPCB service for this. They have a low cost service that will build 3 small boards for around $60. Since I can get 4 copies of the converter board on each of the small boards, you end up with 12 copies for $60. Here is the PC board file and also a PDF of the parts layout (showing 4 boards). Since this is a fairly simple circuit, one could hand wire it if you were only building one unit.
The components are:
Cost Quantity What
1.75
1
MAX232CPE or equivalent (Jameco
24811)
1.20
4
1uf caps (I used 4 x 5 mm ones from Jameco 94160 -- you get 10
for
this price)
0.69
1
20 pin double row header receptacle (Jameco 70826)
0.45
1
10 pin double row right angle header (Jameco 53575 -- this is a 20 pin
one, just cut in half)
0.32
1
20 pin double row header to install on Webpal J10/J11 (Jameco 53479)
1.50
1
DB9M to IDC10 Serial [DTK version] (PCCables
07121)
Everything installs on the top of the board and then the board is plugged into a 20 pin header that is installed in J10/J11. I used a desoldering braid to remove the solder from the Webpal so I could install the 20 pin header in J10/J11. You really only need the 10 pins of J11 if you want to save time.
To build the adapter board, install the 4 caps (+ goes to the square pad), the MAX232 chip, the 20 pin header receptacle and the 10 pin right angle header. You plug the 10 pin IDC to 9 pin RS232C cable into the right angle header (make sure you align pin 1 correctly). There are two versions of these IDC10 to DB9 adapters so make sure you get the DTK version. The link in the parts list above contains the pin out of the correct version as does the schematic.
Turn the board over and plug it into the 20 pin header you installed
on the Webpal board. You now have an RS-232-C
port!